After getting tired of bland tasting bread from the supermarket, and upon realizing that baking homemade bread is akin to brewing beer in many ways, I decided to give it a shot. No bread machine, no electric mixers, and no fancy equipment. Just the basics the way old world bakers have been doing it for centuries.
The Ingredients:
- 6+ cups Flour, All Purpose Baking, White (you can substitute whole wheat in full or part, but I've found whole wheat makes for a very heavy sourdough loaf.)
- 1/4 tsp dry yeast
- 1 or 2 cups of Sourdough Starter (See my Sourdough Starter post on how to make this)
- salt, to taste (2 to 2.5 tbsp)
- water
First Step is to get your Sourdough Starter. Check my Sourdough Starter post on how to make your own from flour, yeast, and water. It'll take a few days to begin, but once you have one, you can continually add to it and 'grow' it in your kitchen/fridge.
Here's a photo of my starter. This one was roughly 4 cups worth, all of which I used in this batch, but normally you would add one to two cups of Starter.
Add 2 cups of water to your starter, and stir pretty well.
This part you may be able to skip, but I always add a little more yeast, even though there is plenty in the Starter. A 1/4 tsp is what I used.
Although most people add salt later, I add it now, just so the salt is evenly distributed. 2 tbsp is fairly typical, although people who are accustomed to more salty bread may wish to add 2.5 to 3, depending on taste. You'll need to experiment with this.
Next, add in three cups of flour, one at a time, slowly, stirring it into the mixing bowl.
It'll start to take shape and become doughy. At this point you'll want to use a whisk, just to get rid of the lumps.
Next, add in one more cup of water, and stir. Put down the whisk and grab a spoon. The dough will begin to get too thick for the whisk, as you'll see below.
Add in the last three cups of flour.
You'll likely get to cup #3 and think, "wow, do I really need this last cup of flour, it already seems so thick!" Well, yes, you do.
Stir well, and then find a large bowl. If your mixing bowl is large enough, you can use that. As you can see, mine was not, so I used this glass bowl.
If your mixing bowl is too small, then empty your dough into the larger container.
Cover with a damp towel and let it sit in a cool area for 12-15 hours. Yup, that's right. 12-15 hours.
This is after 15 hours. You can see the dough has expanded and risen to almost double the size. In fact, my large bowl was barely big enough.
Next, you'll want to sprinkle flour on top and around the sides, and scoop your hand at the edges of the bowl. (The added flour is why I listed the "6+" in the ingredients). The goal, as you can see below, is to remove the dough from the container and loosely shape it into a round or oval lump.
Remove the dough from the container, and work it by folding it end over end, in upon itself several times. Keep going until it's not sticky. You may need to coat it with more flour, lightly.
Coat a new bowl (or clean the one you just used) with oil. I used olive oil, but in the past I've used vegetable oil without any issues. I suppose Pam Spray works too.
Deposit your folded, turned out dough into the bowl.
Cover it again with a damp towel and let it sit another four hours.
More flour, lightly, and again shape the dough back into a round oval, the same way you did last time when it was in the bowl.
Remove the dough, and preheat your oven to 450 degrees F.
Because I had a large dough ball (since I used so much Starter), I decided to divide my sourdough into small loafs. The 6-cup recipe I've given is typically good for two large loafs, although I've made one large one before too. Here, you can see me cutting the dough.
Shape your dough however you want it to turn out. I prefer rustic circular loaves, but many people like baguettes. It'll taste the same, so don't stress too much if it's lop sided or uneven.
My wife decided to make Butternut squash soup about two hours before I was ready to bake, and the ceramic pan you see here is the best thing I have to bake bread. See all the black residue on the pan? Yup, that's crusted Butternut Squash. I couldn't get it spotless before baking, but the main part of the pan -- the parts the dough touch -- are clean.
Make sure you powder the pan with flour. Some people prefer Polenta.
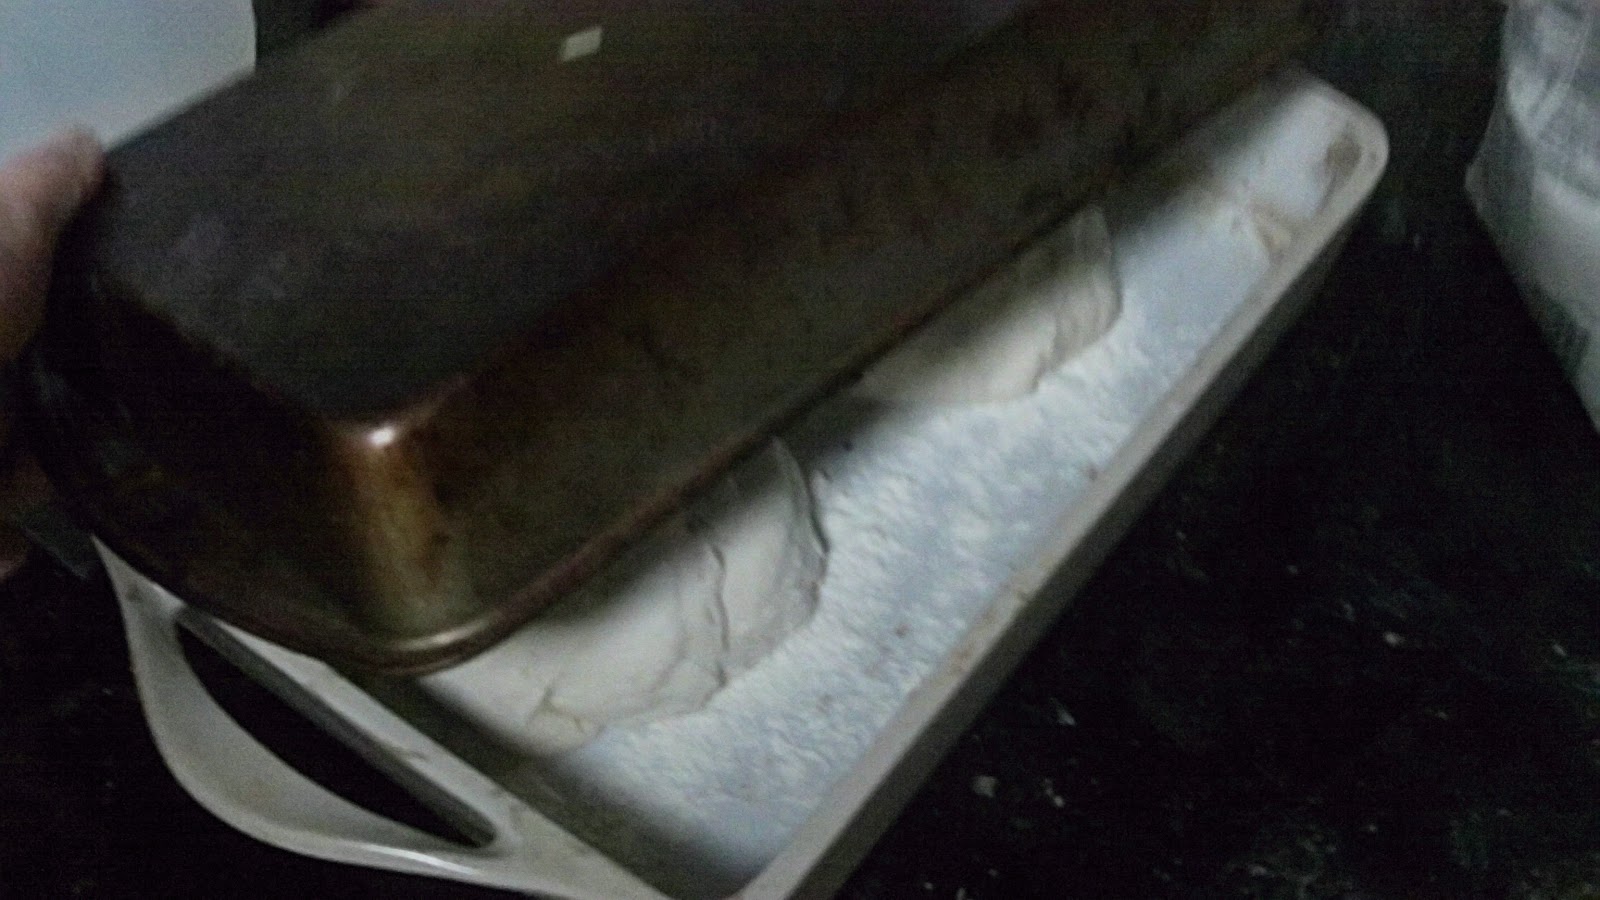
Is your oven at 450F? If so, find a cover for your pot that fits snugly. We want to create an oven in an oven.
Put it in the oven at 450F for 30 minutes.
After 30 minutes, remove the cover, and bake for 15 more minutes.
After a total of 45 minutes, your sourdough bread is done! Remove it carefully from the oven and place it on a cooling rack or wires, or if you don't have any of that, use the grill on your range.
Slice it open and try some.
It's best, hot out of the oven, coated with a little butter.
Enjoy!


